

Flash modifiers are great and here’s why…
We all know that typical camera-flash type picture where there are harsh shadows and you can see where the light reflects off of every shiny object in the photo. It’s not a good look and it’s very obvious an on camera flash was used.
There’s a cheap and easy way to fix that though and it”ll create a warmer more natural look to your photos. Although this exact fix won’t apply to all cameras, the theory and concept behind it is simple and can be applied to anything from a point and shoot all the way up to a DSLR.
The concept of this DIY fix is to bounce the light off of a larger surface. By doing so, you get a more evenly distributed light on the subject, reducing in the harsh shadows and extreme contrast.
To make your own bounce card, you can use foil and blank white paper. Simply mold the foil to your camera’s flash. If the flash is on the front of the camera rather than the pop out variety, simply make a box, cut it in half and tape or hold it to the flash bulb.
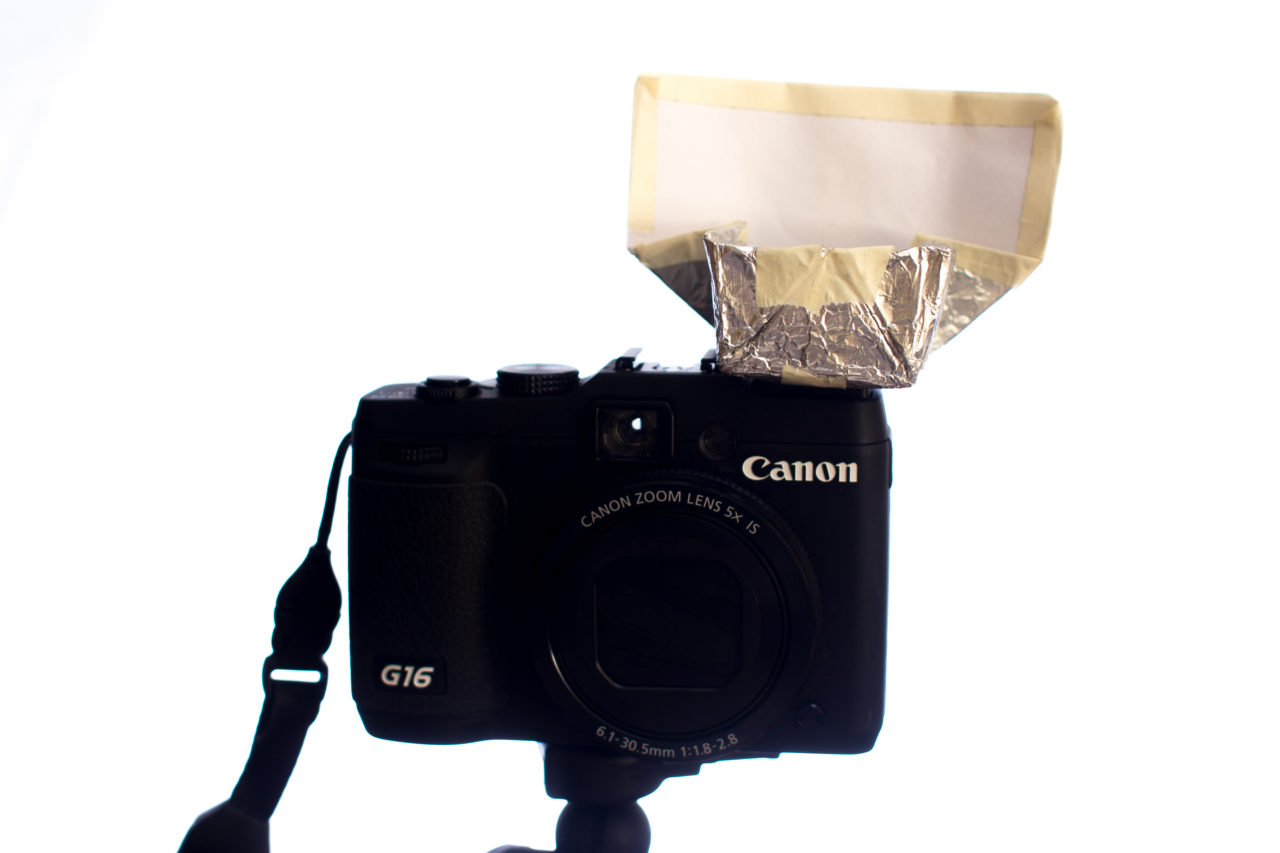

The idea is to simply redirect the light up toward the ceiling where the light will be redistributed and bounced back onto the subject. The back side of the bounce card is to reflect a small amount of light forward to help light the subject in outdoor settings however for indoor shooting, if you can make a box out of foil and simply bounce the light up toward a ceiling, it will work the same.
In a quick and crude non scientific comparison test taken at a friend’s house, you can see the differences between the use of flash and modified flash.

Left to Right: Flash, Modified Flash, No flash
The modified flash and no flash look similar which means in this particular scenario, both were possible but the likelihood of having shake or blurry photos increases without flash. By using flash, you also isolate your subject from the background.
Let me know if this post helped and if you have any suggestions for future topics!
