

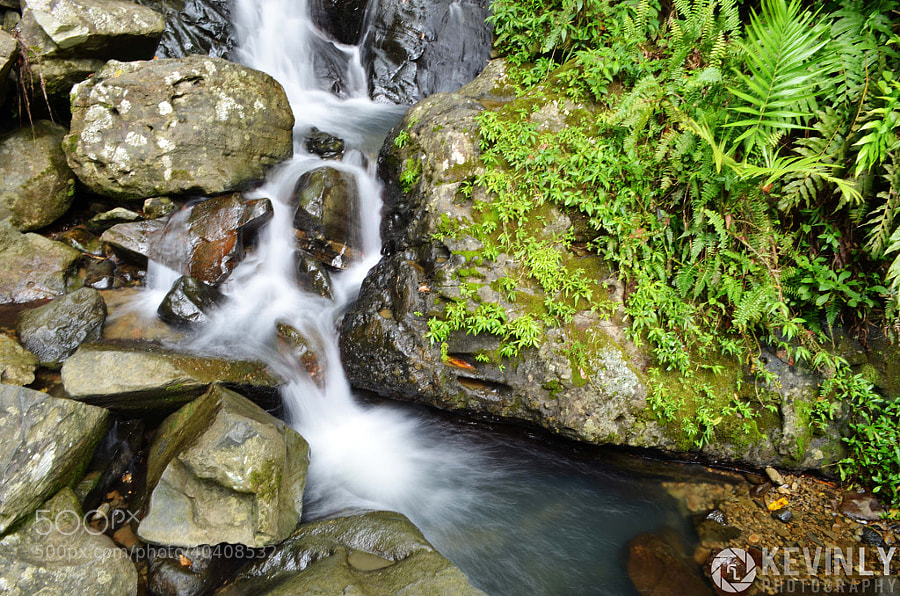
We’ve all seen it before, photos of moving water captured by a single picture. Now, how do we take a picture that looks like that, rather than one that has drops floating or dropping down a cliff. It’s all about shutter speed on this one.
Typically in day light, you’d be shooting in the 1/100s or faster meaning you’d freeze the water while the photos we’re after allow the single drop to travel a certain distance “painting” a white streak to show the motion of the droplets or streams of water. The issue is, if your camera is on automatic or P mode, you’d never get this shot. You would have to force the camera into S mode to control the shutter speed. (non DSLR users, I’ll address this part in the second half since you may not have control over shutter speeed)
Once you do that, see how slow you can get your shutter speed before your aperture can’t get any smaller. Then make sure your ISO is also as low as it can go to help minimize the sensitivity to light (to allow for longer shutter speeds). *also make sure you use a tripod for this if you go any lower than 1/40 second. You can try using rocks to stabilize shots but life will be much easier with a tripod or anything not handheld.
If you’re on a DSLR and you want to go even slower, you’ll need a ND filter, a neutral density filter. This prevents a certain amount of light from entering the lens without affecting color. Think of it as non color tinted sunglasses. Now you can make your shutter speed even slower if you want a smoother effect on the water. Experiment and see what you like.
For point and shoot and smart phone cameras, you basically have no control over shutter speed but you can trick your camera into thinking it needs a slower shutter speed. Hmmm, when would I need slower shutter speeds…AT NIGHT! So get a pair of sunglasses or ND filters (like mentioned above) but hold them in front of your point and shoot. Your camera will think it’s dark out and adjust accordingly. Definitely use a mini tripod or use a rock nearby to stabilize your camera. We all know how night photos look on these cameras (ALWAYS OH SO BLURRY). So once you do that, you should see a significant amount of blurring of the water be introduced. If you have a night time mode or a fireworks setting, USE THAT. Those presets force the camera into low shutter speeds specifically so you’ll get what you want. Make sure your ND filter is taking away enough light. On a sunny day, a single filter may not be enough. I usually use 2 paired together to take out twice as much light.
Neutral Density Filters are relatively cheap, probably in line with polarizing filters. I got mine for about $20 each. There are varying degrees of filters (darker or lighter tint). I have (2) – ND4s. For the cheaper ones, don’t get too picky on brand or anything. They all are pretty much the same. The more expensive ones degrade your images less but it’s not noticeable when you’re just a beginner and want to learn.
