

How To Get a Photo Like This With The Camera You Already Have
See real time how quick and painless this process is. For details follow below:

No fancy camera? No problem. In this chapter, you’ll learn how to make the use of your smartphone or point and shoot camera with no additional purchases or experience necessary. Dare I say fool proof?
To start, take out that phone or camera and take as many pictures as you can! You’ll never really know which ones end up being your greatest shots until you look back at them later. Meanwhile, enjoy the moment instead of trying to take the perfect photo.
In order to take great photographs that you can “save” or edit later, try to avoid “blowing out the image” with really bright spots. Dark spots are easier to fix in post processing but when you make an area of an image white, there is not recovering of the details. In some cases, HDR may come in handy. For the sample image used in this example, you can see that HDR brings details out of the shadows that otherwise couldn’t be seen if you used a regular camera mode.
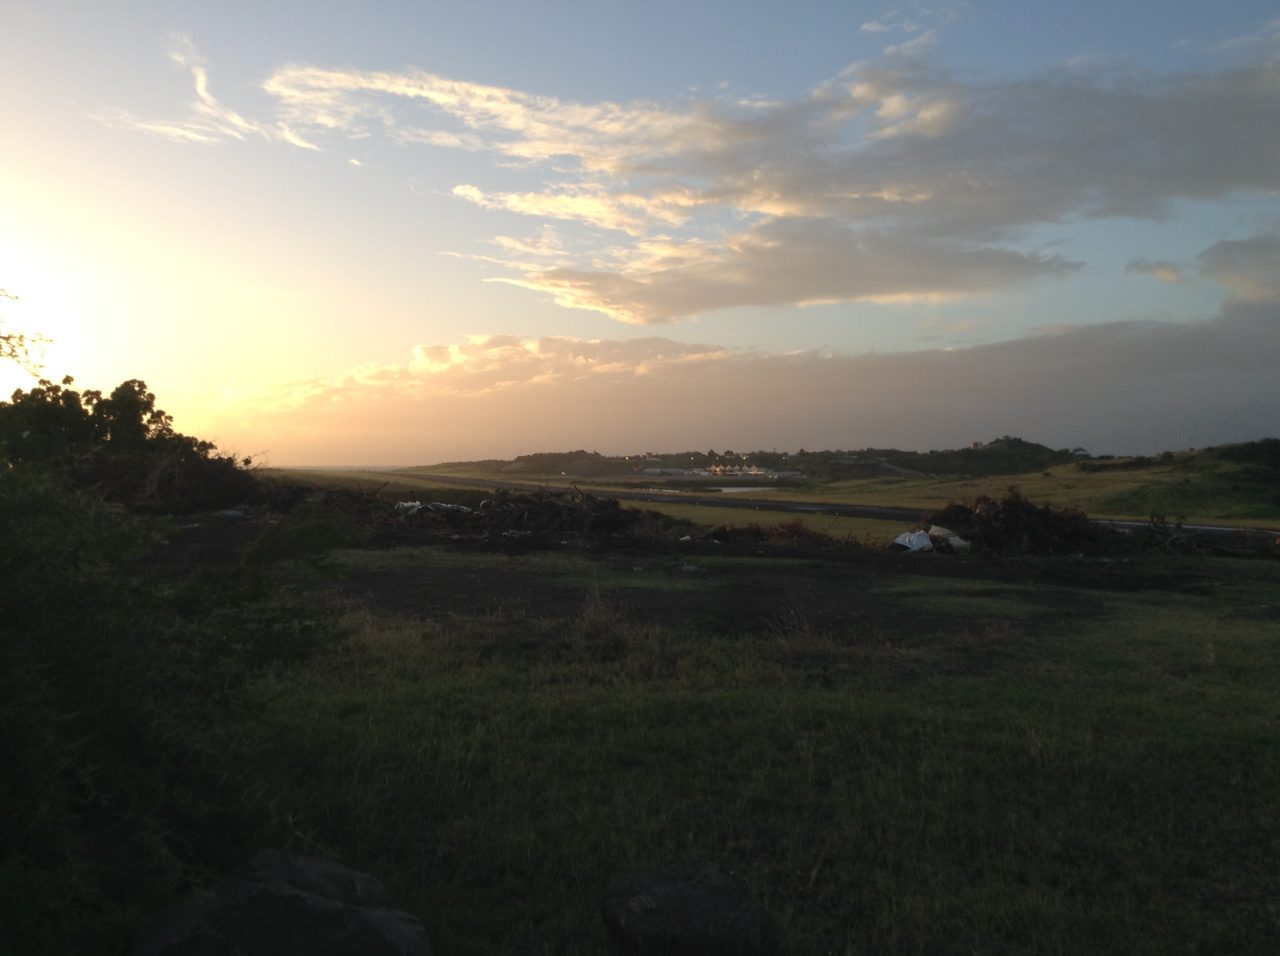
When you expose (by tapping on the screen) for the highlights, you lose some details in the shadows (darker regions)
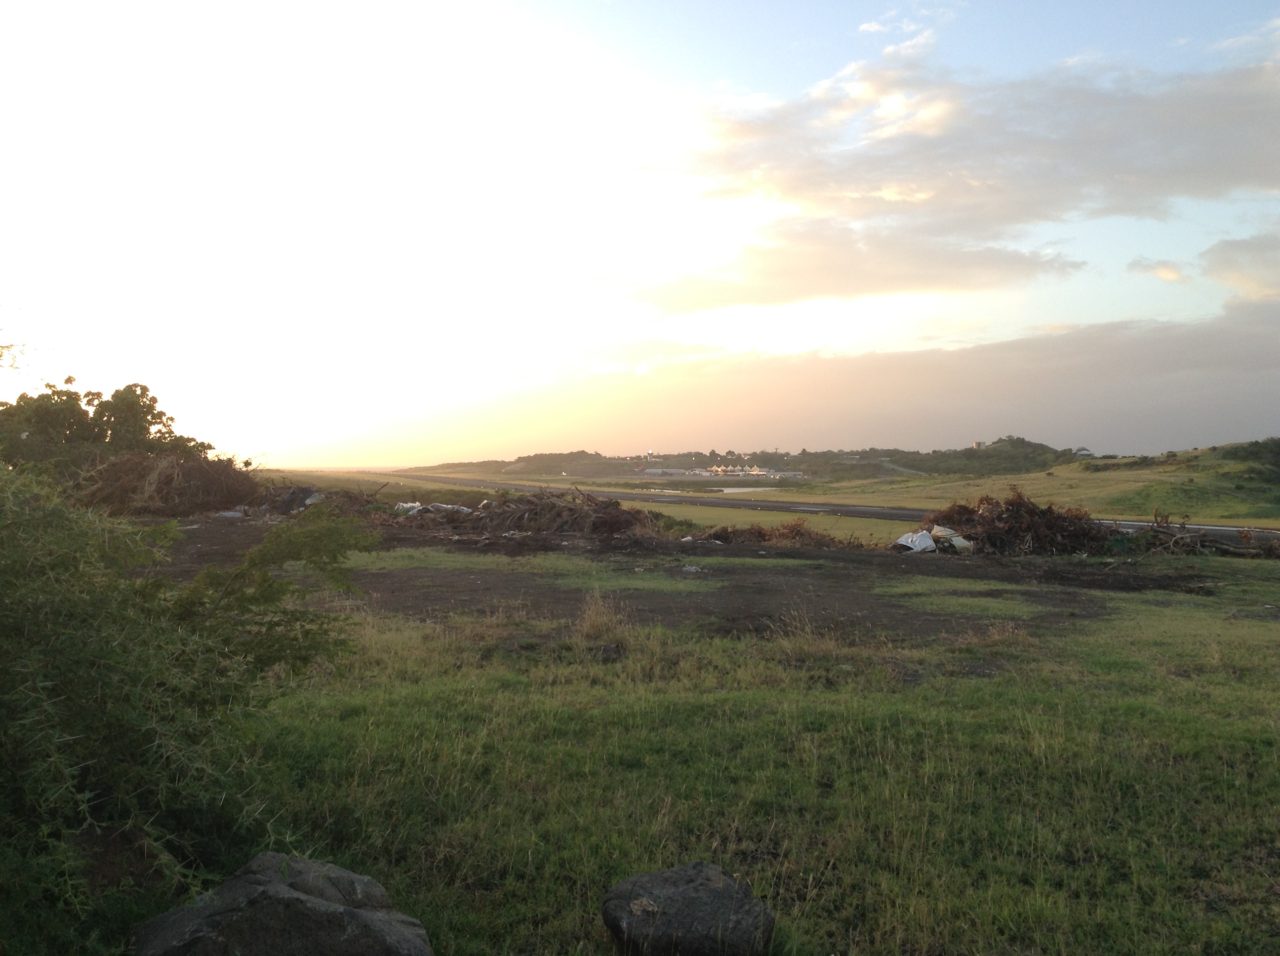
When you expose for the shadows, the camera compensates but then the sky is too bright and gets blown out, losing all the details in the clouds
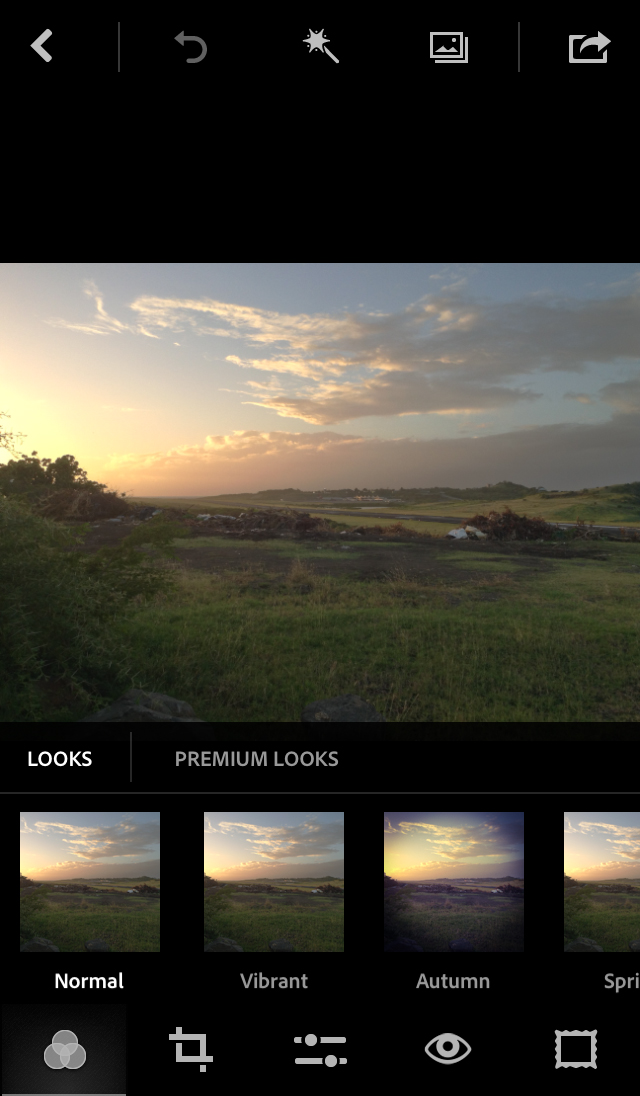
When you put your HDR mode on, the camera will take about 3 images sequentially exposing for shadows and highlights and merging them automatically to give you an image like this one, where the range of exposure is much greater (high dynamic range = HDR).

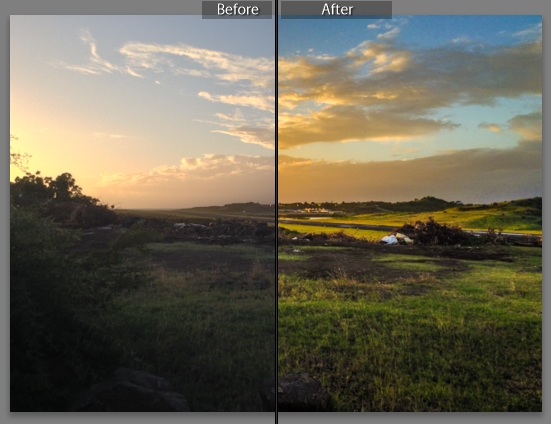
When you get home, or have some down time, pick out your best photos for a little editing to make up for the lack of high end equipment. Even professionals edit photographs so don’t feel like you’re cheating. By taking a photo with all the detail still intact, you can bring out the colors from an otherwise washed out image that camera phones tend to produce. Remember, you can’t bring out details that aren’t there so that’s why it’s important to expose the images properly when you take them, avoiding pure white spots from sunlight or bright objects.
Step 1: Download a photo editing tool. I’ll use Photoshop Express for this example because it’s FREE and it’s available on both your desktop as a free application AND an app in the iTunes App store so it caters to a wider audience. And it’s really basic and simple to use. The software is also developed by well…Adobe who obviously knows what they’re doing and uses the same technology in the mobile app as the technology that’s incorporated into their high end Photoshop and Lightroom products.
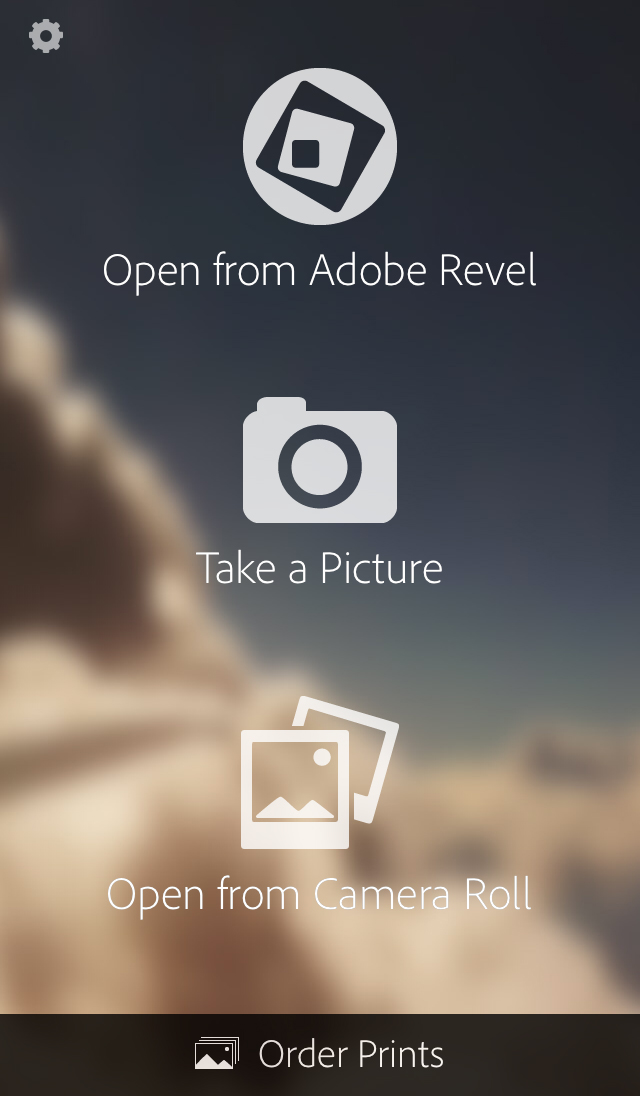
Step 2: Open the app

Step 3: Open from Camera Roll
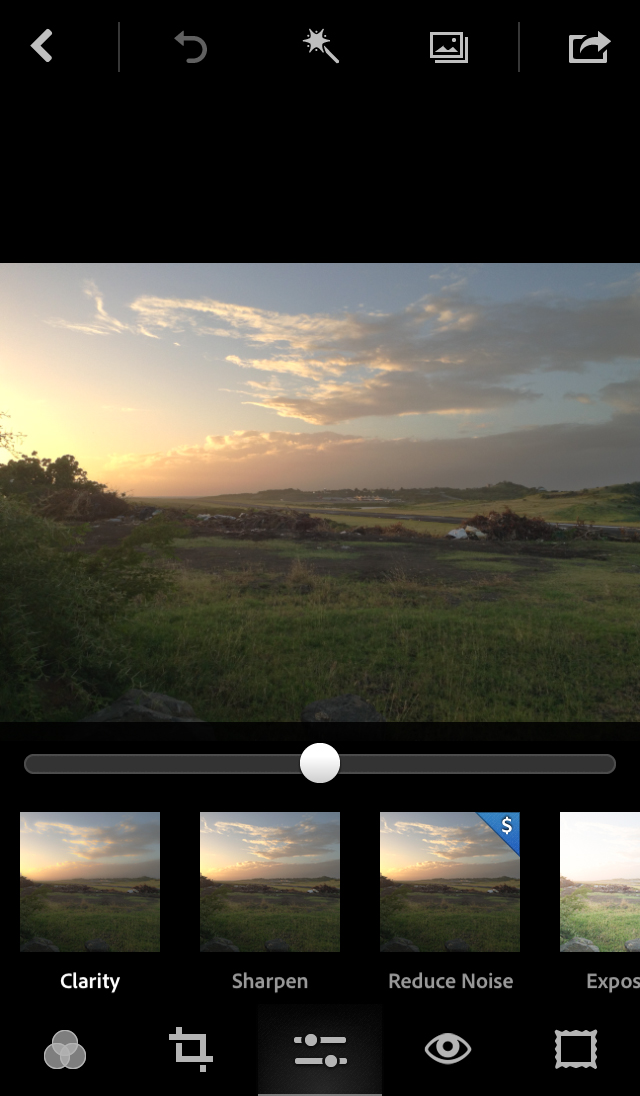
Step 4: The first screen are preset options. That’s not what we want though, however you could use it if that’s all you really needed. Let’s make our lives more complicated though and actually learn something 😉 Click on the middle button with the bars/sliders.
Step 5: We’re going to adjust settings manually, rather than let presets do it for you.
Step 6: You don’t have to follow the order I do it in but I found that this order makes more sense. First, we want to make a flat image. What that means is, you want to bring the whites and bright parts darker, and then the shadows and dark parts brighter, meeting in the middle somewhere.
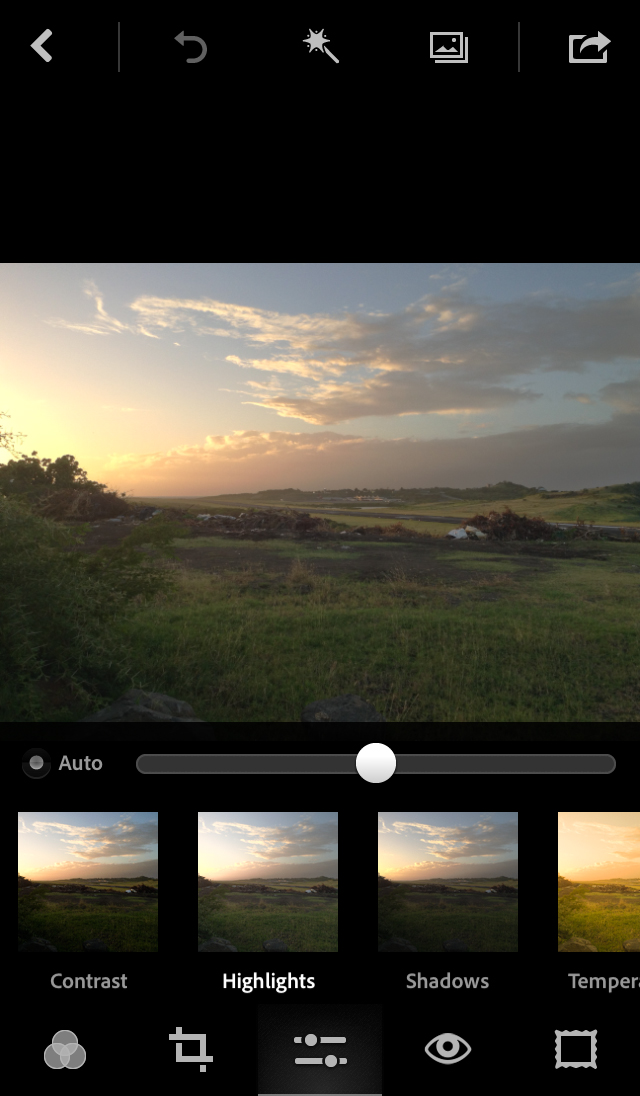
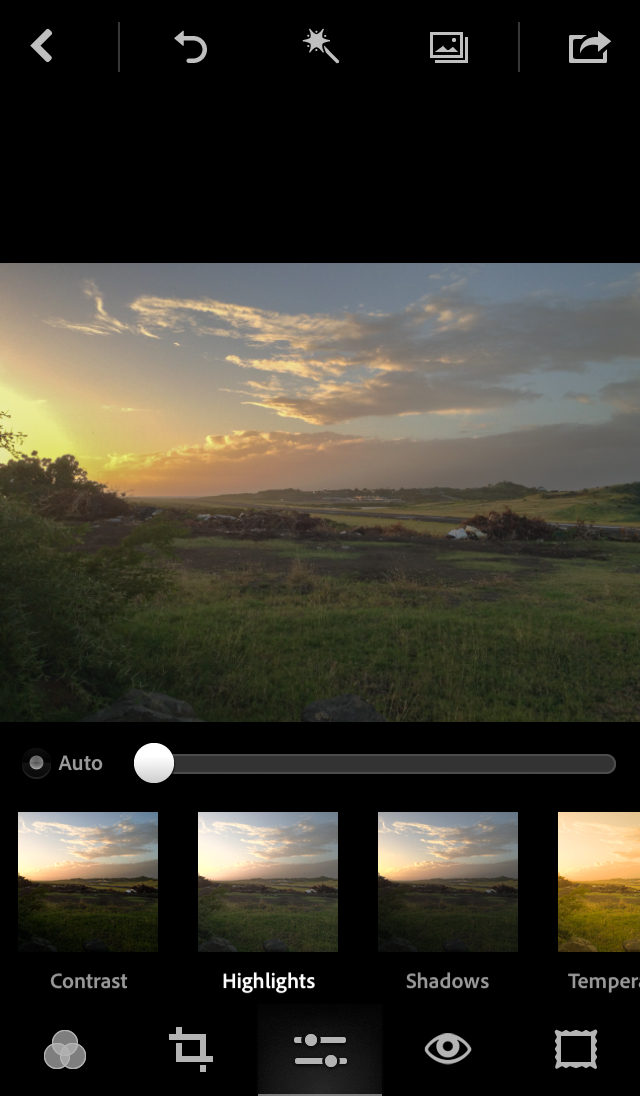
Step 7: Highlights down to 0
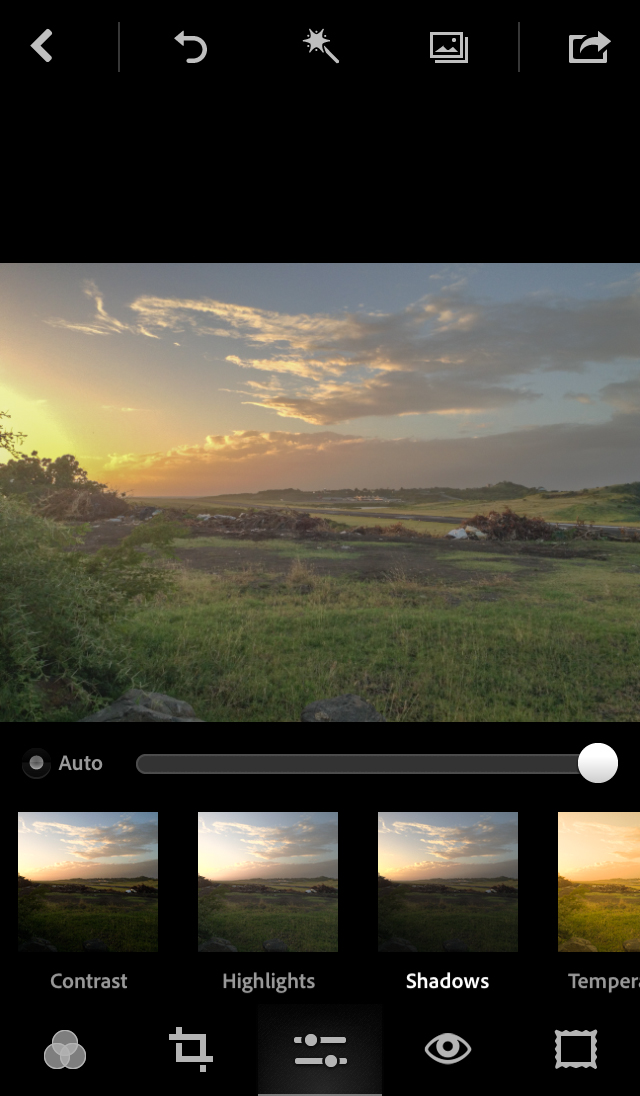
Step 8: Shadows up to 100
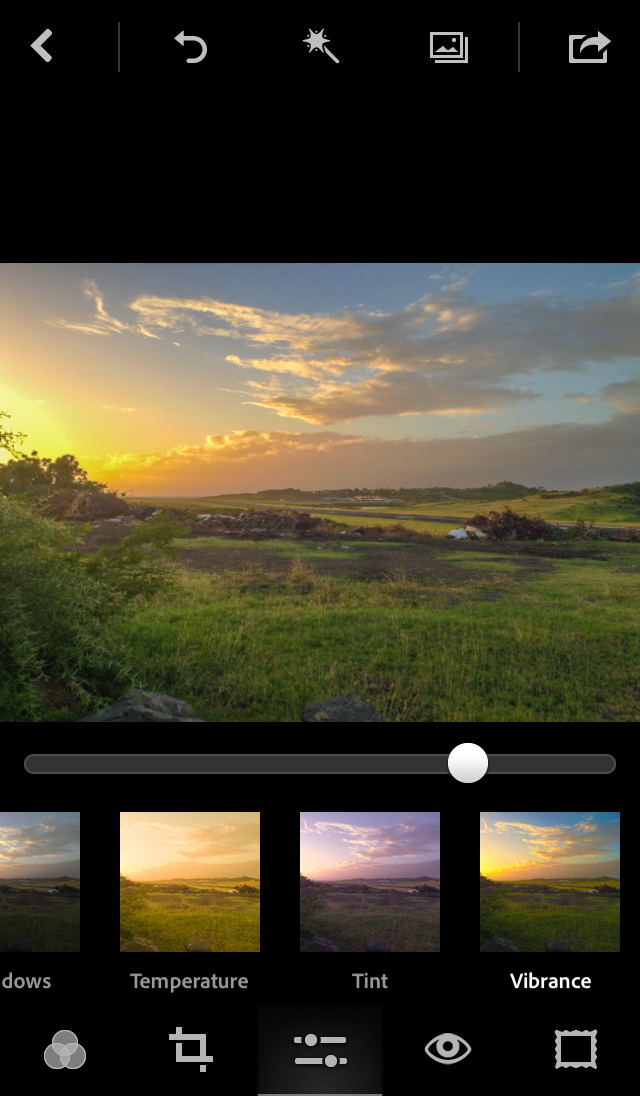
Step 9: Now we’re moving over to the fun part, bringing some of that color back. Vibrance…just think of it as a Smart Saturation. It’s Adobe’s way of dealing with saturation without just pumping up ALL the colors to create that icky crayon look. This part is subjective and varies from photo to photo. For this one, I took it up to about 60. Most times, I only bring it up to about 30 or 40. 100 never looks good though.
Step 10: Now that we have some color, let’s bring out some details. Clarity is like a Smart Sharpening tool. Again, Adobe’s way of sharpening edges without making things look weird. I usually go up to about 40 but do it to your taste. You don’t want to make it seem obvious so slide it up until you start noticing weird marks and artifacts.

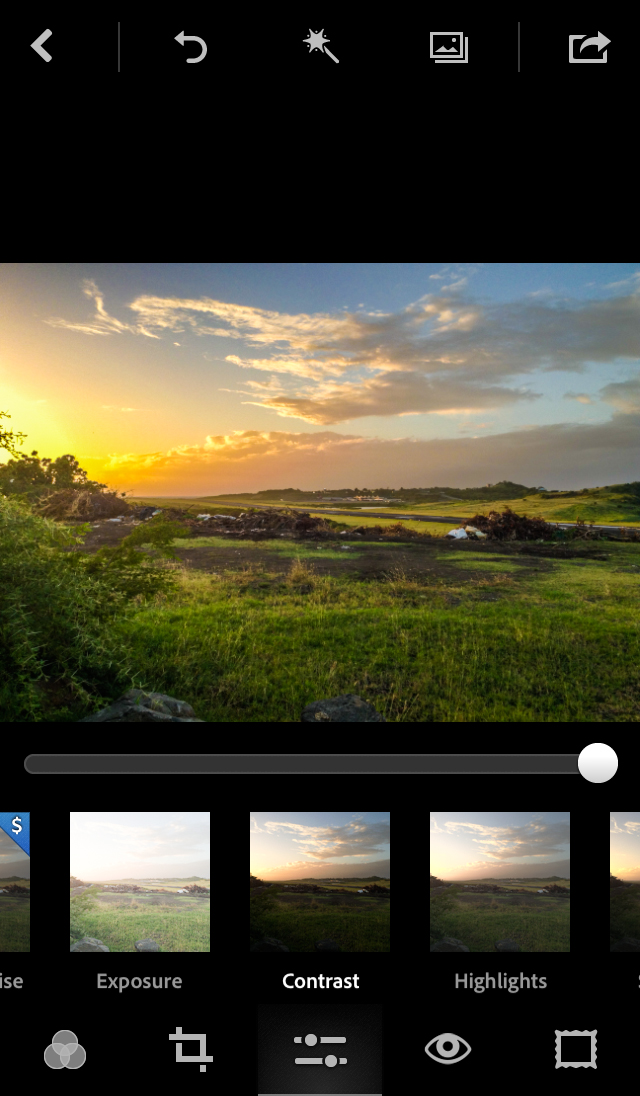
Step 11: Remember when we made the image flat? Now we can add that range back in. By increasing the contrast, we’re taking that blob of light data that was in the middle (by bringing highlights/brights down and shadows/darks up toward the middle) and we’re stretching it out. Now you’ll start to see more of what you remember seeing with your eyes when you first took the photo.
If you’re happy with what you see, that’s it! Tap on the icon on the top right and save your image, letting it load and save properly. You’ll see a message when it’s done. If not, go back through the settings and try out some that we didn’t cover such as exposure and temperature. And remember, all of this is subjective so don’t feel confined to following a strict process. Photography and photo editing is a creative process.
Like this tutorial? Share it with your friends and leave a comment letting me know what else you would like to learn! If you would like to see video tutorials instead or in addition to, also leave that in the comments. Thanks!
